Product capability
The workflow stays reviewable
ComicWave keeps the webtoon episode plan, generated panels and lettering as separate stages. You can review the structure before drawing and replace one weak result without discarding accepted work.
To make a webtoon, define one episode goal, break it into scroll-sized beats, lock recurring character references, storyboard the vertical rhythm, draw and letter each panel, then preview and cut the final canvas for your publishing platform.
Begin with one sentence that states what changes. A character makes a choice, discovers information or reaches a new obstacle. That promise keeps the episode focused.
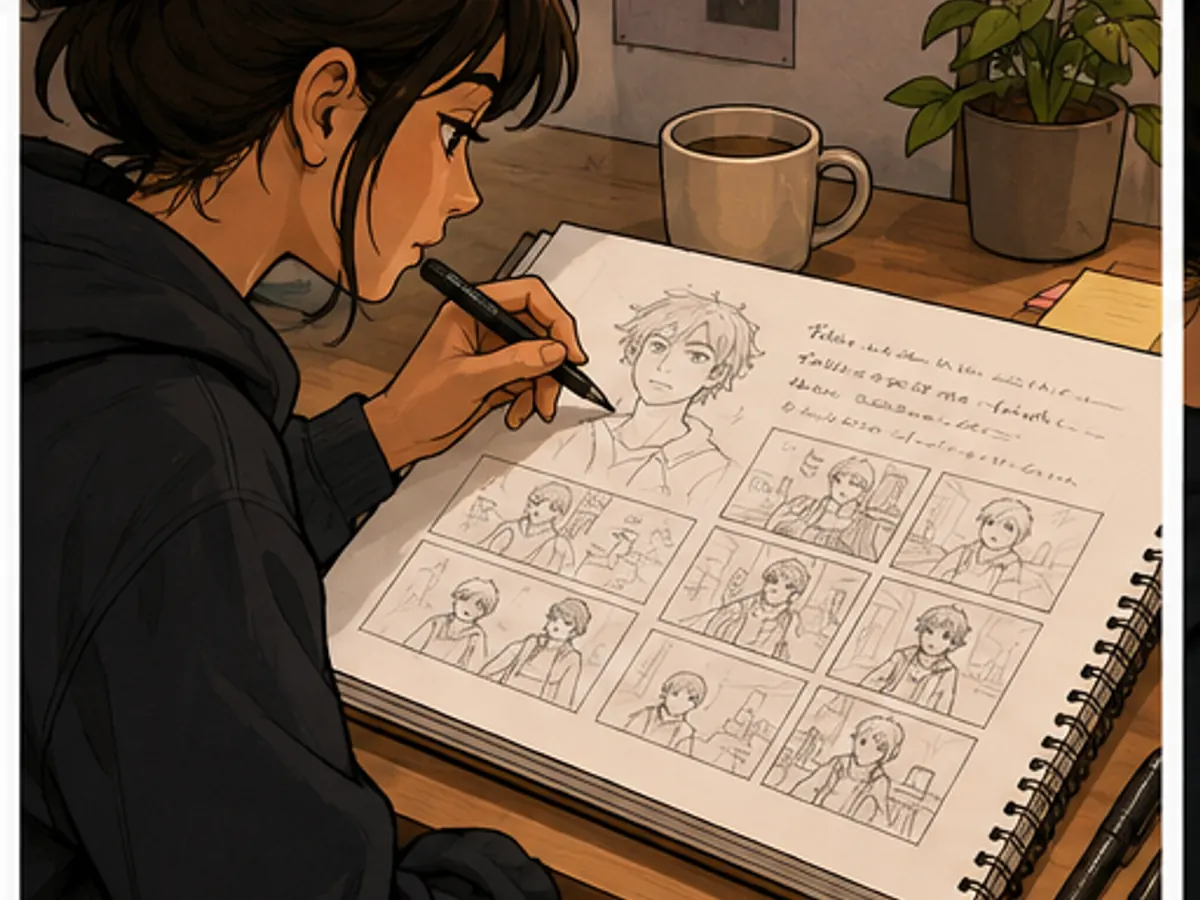
Turn the promise into a short beat list. Include the opening situation, rising pressure, a turn and an ending image. Cut any beat that does not move the episode.
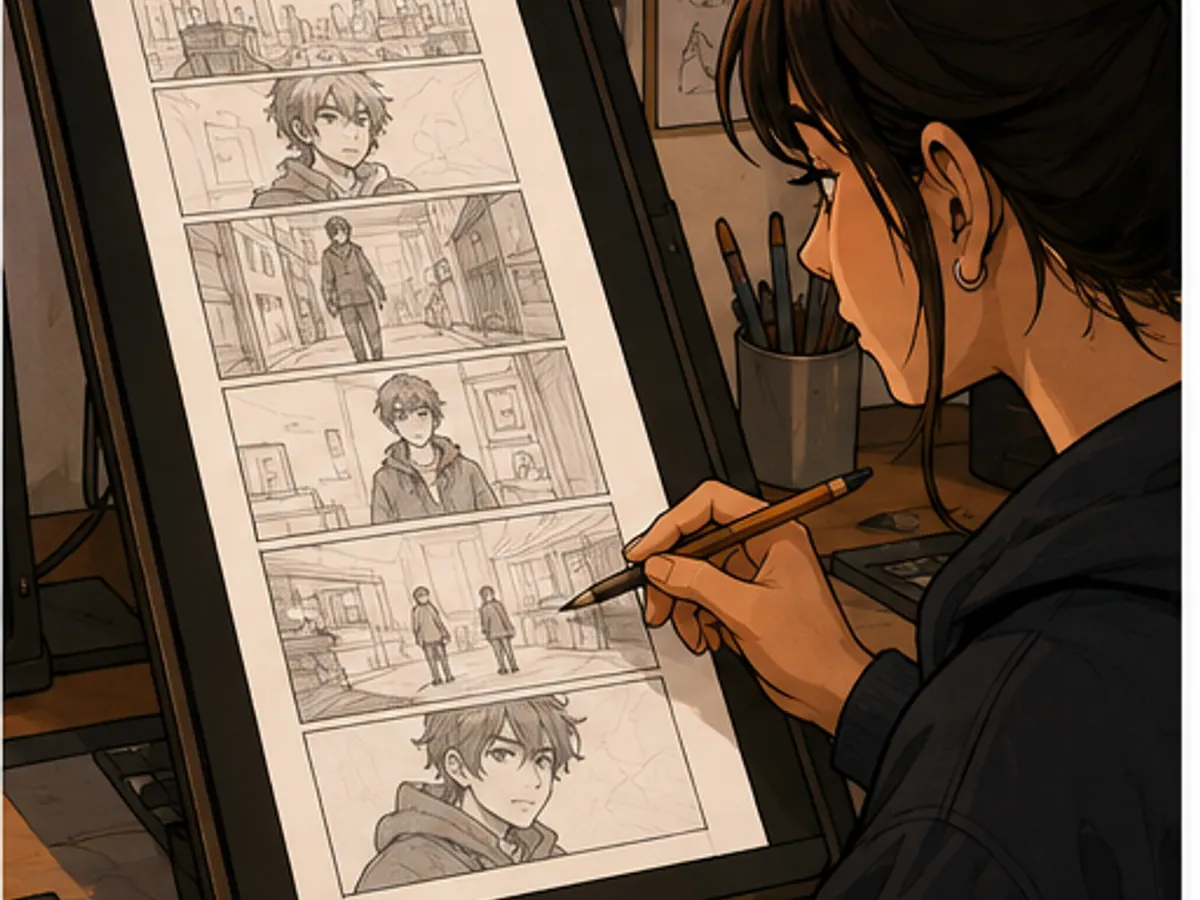
Storyboard on a tall canvas. Close panels create pace; open space creates a pause. Put major reveals below enough space that the reader discovers them by scrolling.
Keep dialogue short and leave room for it inside the composition. Check the reading order at phone width, where small faces and crowded balloons become obvious.
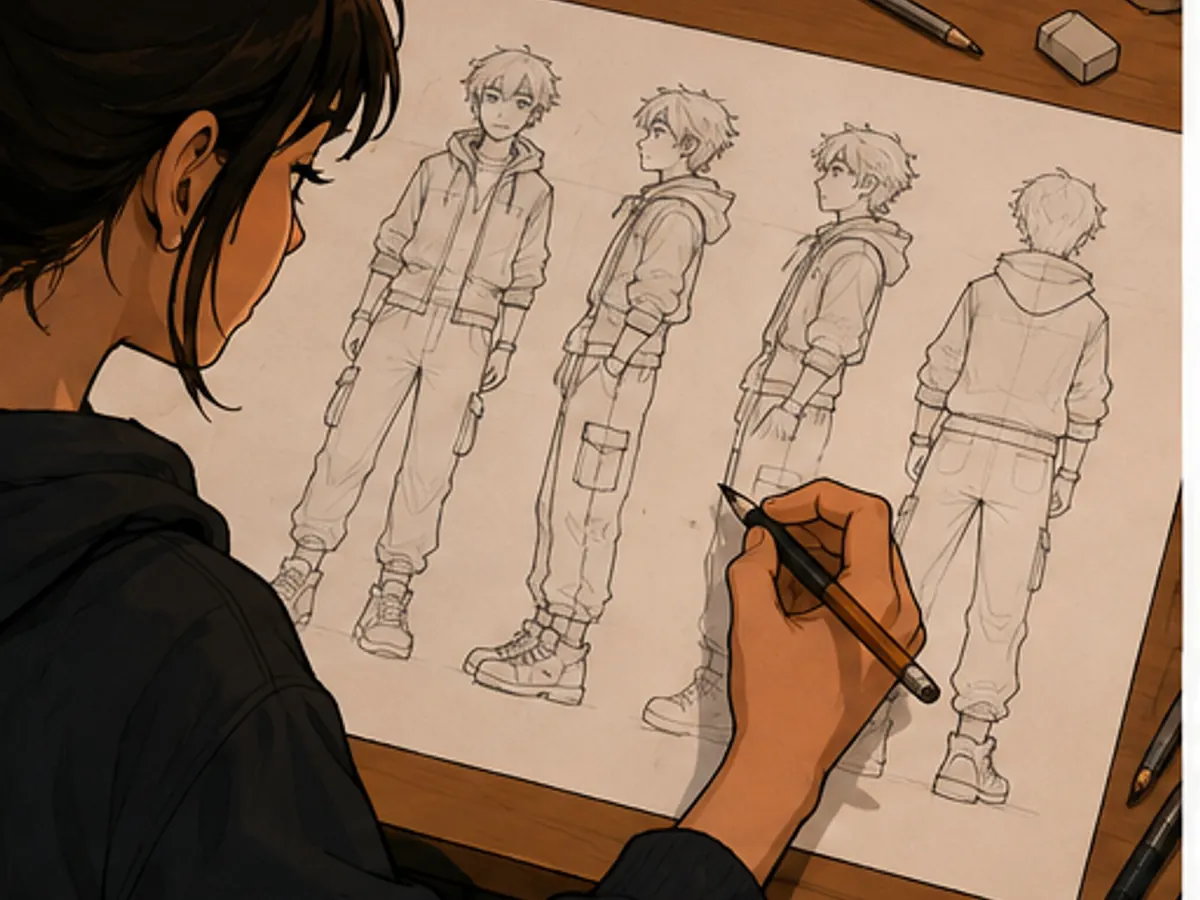
Approve recurring characters and generate or draw one panel at a time. Review continuity, lighting and important props before moving to lettering.
Proof every line, preview the complete scroll and inspect each planned cut. Platform limits change, so confirm current dimensions and upload rules with the service you use.
Know what changes by the end of the episode before deciding how many panels to draw.
Use spacing to control pauses, reveals and transitions instead of treating the canvas like a printed page.
Approve the main cast and locations early so future episodes start from stable visual evidence.
Read the full episode on a phone, inspect lettering and cuts, and only then prepare final upload files.
Write the central change, four to eight story beats and the final image or cliffhanger.
Arrange rough panels and spacing on a tall canvas, then test the pacing at phone width.
Generate or draw approved panels, add editable lettering, proof the long scroll and create safe chunks.
Six original workflow illustrations made for this guide. They show planning stages rather than promising a particular generated result.
See exactly what stays under your control. Customer quotes will appear here only when we have permission to publish them.
ComicWave keeps the webtoon episode plan, generated panels and lettering as separate stages. You can review the structure before drawing and replace one weak result without discarding accepted work.
The visual examples on this page are original concept illustrations made for this topic. They are not customer work, benchmark results or a promise that every generated output will match them.
Same category, the next step in the workflow, and something to read.